Coffee made by Keurig machines is renowned for consistently producing good coffee. That doesn’t imply, however, that there aren’t any issues with these coffee makers. Every kitchen appliance has problems, whether they stem from normal wear and tear or peculiarities in manufacturing.
Here are some solutions for fixing a Keurig.
Table of Contents
How a Keurig Coffee Maker Works
We are aware that the main benefit of a Keurig is that you can make coffee without having any prior experience. Yet knowing a little bit about how your machine operates is a BLESSING. In the event that your Keurig breaks down, it will serve you well.
The basic workings of the Keurig original and Keurig 2.0 models are the same, despite the wide variety of models available. There are two essential parts to the Keurig brewing process – the machine itself and the brand’s unique K-Cups.
Ready for the brewing process to start, the K-Cup is inserted into the chamber. Hot water can enter thanks to a top needle puncturing it. At the same time, the bottom is punctured to allow the coffee to brew and exit into your cup. The cold-water reservoir’s water is pumped into the heating chamber when you press the brew button.
When the water is the ideal temperature, it is pumped to the brewer where it flows through the K-Cup’s grounds.
The Keurig uses an extraction technique similar to drip coffee, despite being a capsule coffee maker. Nespresso coffee makers are contrasted with this because they use pressure extraction, just like an espresso maker.
Why is My Keurig Not Working?
Let’s go over how to solve the most common reasons for your “Keurig won’t brew” problem.
Check Parts
Misassembly is the most obvious thing to look for, though it’s not the most likely cause. Because some components are missing or disconnected, the Keurig machine might not brew. Any Keurig brewer is made to stop brewing once it is finished.
First, make sure the machine isn’t already off by checking that you didn’t set the auto-shutoff feature. If not, unplug it from the wall socket and check to see if the water reservoir was installed properly.
It has a magnet that might be lost. The issue must be elsewhere if the magnet and reservoir are both in the proper positions.
Trapped Coffee Grounds
Another easy solution to the Keurig won’t brew problem may be using the “spanking” or “burping” technique to remove any coffee grounds that may be left inside the machine. Empty the drip tray and the water reservoir first.
The machine should then be turned upside down and repeatedly spanked over a surface that can be cleaned with ease, such as a sink. The Keurig shouldn’t brew as a result of doing this because it will likely remove any leftover water and coffee grounds that may have become trapped inside.
Clogged Needle
The Keurig machine might not be brewing because of a clogged needle. The needle is required to pierce the foil K-cup lid, but if it becomes clogged with coffee grounds or water minerals, it won’t work.
The Keuring will not therefore brew.
It’s time to clean all internal filters with a hot vinegar and water solution! After cleaning them thoroughly, wash them with soap and water and try running several cycles with just water. You should move on to the next option if it is not feasible and the Keurig continues to not brew.
Use a Paperclip
Remove the K-cup from the plastic holder in the brewer using a paperclip. After that, if there are any leftovers inside, use the paperclip to get them out. To aid in the cleaning, use water while doing so.
Additionally, try taking the lid’s handle off. The water that is injected into the K-cup is done so through a set of tubes. Clean each of them with the paperclip as well. Once these processes are finished, try running several cycles using only water. Continue to the next possible offender if this is still not possible and the Keurig continues to refuse to brew.
Electrical Fault
The issue might be electrical in nature if the Keurig machine is completely clean and nothing is stuck inside. Try unplugging the Keurig for a short while, then plugging it back in if the screen is blank or not displaying the desired content. If that solves the problem, it was an electrical fault. On the other hand, a mechanical cause could be the cause of the Keurig won’t brew issue.
Clogged Water Reservoir
Cleaning the clogged water reservoir’s bottom is one more method of trying to solve the issue. There might be some debris at the bottom of the reservoir if you’ve been using the machine for a while, especially if you haven’t cleaned it frequently. The machine may be blocked by the debris buildup and unable to brew.
Warm water and soap should be used to wash the metal mesh inside the reservoir. Put it back in the Keurig once it is dry, and hopefully it will begin brewing once more.
The presence of debris, this time in the water valves, could be the reason the Keurig continues to not brew. If there was a previous descaling, limescale in particular might have been depositing and not being removed.
The solution would be descaling the Keurig machine again and allow it to completely cool down before trying to brew with it again. There are a few other fixes that might be tried if neither descaling resolved the problem.
Water Pumping
If the Keurig was overfilled with coffee pods or the wrong ones were used, the machine might not be brewing. Debris that had previously clogged the needle could also be the culprit.
Use a cup underneath the dispenser, empty the drip tray, and then try to brew after being certain that the reservoir has exactly the right amount of water in it. That ought to stop any leaks that might have been the reason the Keurig wasn’t brewing.
It may sound strange to say, but using soft water may be causing the Keurig machine to stop brewing. Keurig cautions against using water that is too soft. particularly if you lately discovered coffee grounds in your cup. That might have indicated that the water was too soft for the machine.
Try completely emptying the water reservoir before filling it up with bottled or tap water. Check to see if the Keurig finally starts brewing by running several cycles without any K-cups.
Reset
Resetting the device is the final effort before contacting a qualified technician. A proper reset button was missing from earlier Keurig models. You should unplug the device for a few hours, empty and remove the water reservoir, and turn the machine off to reset the sensors.
If the machine had been turned on, it would have gone back to its initial setting, which should have resolved the Keurig won’t brew issue.
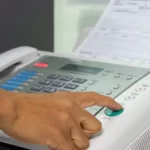
There is a way to perform a hard reset on newer machines. The medium mug and small mug buttons should be pressed jointly and then released. Then, quickly press the menu button three times. The clock ought to read 6:09 on the display.
The clock should return to 0:00 if you press the menu button once more. The medium mug button should be depressed and held. Press the menu button once while keeping it depressed.
Press and hold the small mug button next while maintaining control of the medium mug, then simultaneously release both buttons. The Keurig device should now have undergone a hard reset.
How to Clean a Keurig?
Many of the common problems you’ll run into with the Keurig can be resolved with proper cleaning, barring any broken components or specific electrical issues. Descaling and cleaning the movable parts are the two components of this.
Descaling
One of the pleasures of owning a coffee maker is routine descaling. Limescale, also known as calcium carbonate deposits, will develop inside the machine depending on the water you use (3). Kettles, water pipes, and boilers are all impacted by this issue in addition to coffee makers. Since limescale can harm the device and alter the flavor of your coffee, it needs to be removed. Sadly, rinsing it frequently is insufficient.
Although not toxic, scale can impair brewer performance if not cleaned up.
You should descale your Keurig every three to six months, though this may be reduced if you use filtered or bottled water and increased if the water in your area contains a lot of minerals.
Starting by pouring any remaining water out will help you descale your machine. Then pour an entire bottle of the descaling solution and an equal volume of water into the reservoir. An alternative is to mix white vinegar and water in a ratio of 1:1. The descaling solution and vinegar should not be used together.
Place no K-Cup in the machine and start the brew cycle. Until the reservoir is empty, carry out the procedure again. Allow the machine to run for 30 minutes (4 hours after vinegar treatment) before turning it off and removing and rinsing the water tank. Visit our Keurig descaler guide for comprehensive instructions.
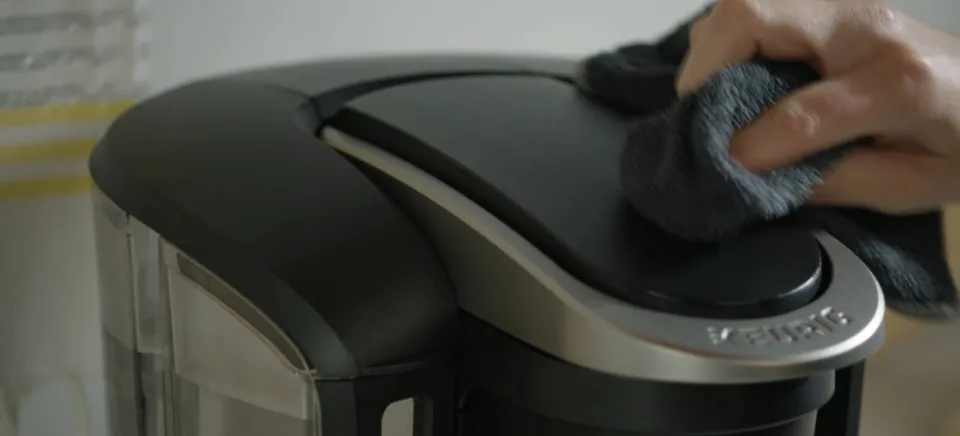
Cleaning the Removable Parts
You will need to clean the removable parts even more frequently than you describe the machine because of this. After your last brew cycle, wait 30 minutes before cleaning any of these components to give the machine time to cool.
You should take out the drip tray, K-Cup holder, lid, and water reservoir once a week. The best way to clean these is with a soft cloth and warm, soapy water. Despite Keurig’s claims that some parts can be washed in the dishwasher without incident, hand washing will prevent any damage. Rinse thoroughly and let air dry. Lint buildup from using a cloth to dry something could clog the machine or get into your coffee.
We suggested cleaning the waterline and needles for a lot of the solutions above. This can be repeated as often as necessary. To clean the exit needle:
- The pod holder should first be taken out of the brewing chamber.
- The tube on the underside of the pod holder is visible when the funnel is removed. Straighten the end of a paperclip, then gently insert it into the tube while jiggling it to clear out any debris.
- Rinse under running water and let air dry.
The machine’s entrance needle must be left there for cleaning. Two holes can be seen if you look at the bottom of the brew head. These can be cleaned in the same manner as the exit needle. Just take care because the needle is very sharp while doing this.
Using a plastic straw, you can clean the water lines.
To prevent a mess, be sure to perform this activity over a sink.
The spout that directs water from the reservoir into the machine should be found first. Place the device on its side over the sink, hold the straw up to the spout, and use your hands to seal the opening. Another option is to use a wet paper towel. To help release any debris that has become stuck in the hose, blow hard into the straw. Any leftover waste or grounds should be flushed out after reassembly by performing a brew cycle with fresh water.
Final Thoughts
Even if everything with your Keurig is going well, you should still clean and maintain it right away. Many potential problems can be avoided, and the lifespan of your machine can be increased, by routinely descaling and cleaning removable parts.
FAQs
Which is the Best Keurig Coffee Maker?
Your needs and spending capacity will determine which Keurig coffee maker is best for you. We appreciate the Keurig Elite’s adaptability and programmable features.
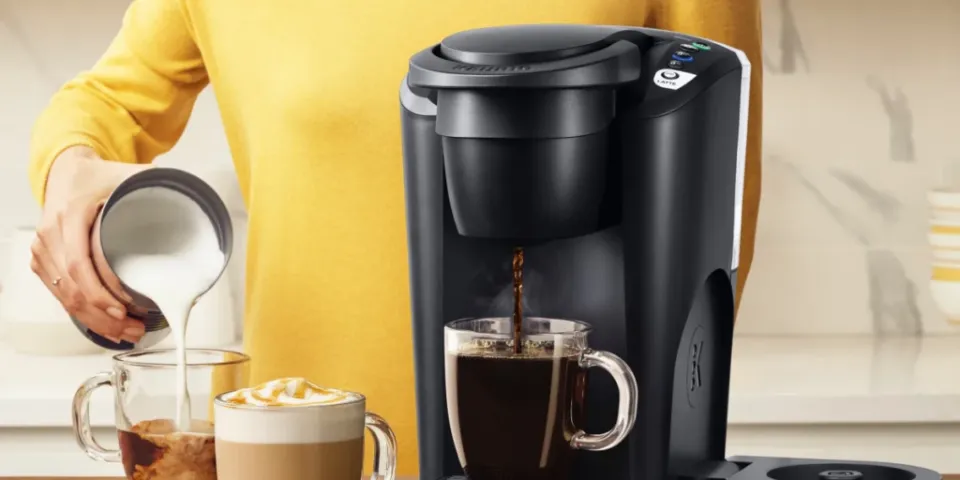
Can I Make Iced Coffee With a Keurig?
Using a Keurig machine, you can make iced coffee. Over ice in a mug, brew a shot of coffee, then flavor with milk and sweetener as desired. The Keurig K-Elite has a special “Iced” function that brews a strong shot suitable for iced coffee.
What is Different About the Keurig 2.0?
The main distinction between the Keurig 2.0 and older models is that the 2.0 can only brew using K-Cups made by the Keurig company. The machines do have some extra features, like the ability to brew larger cups of coffee, including carafes.