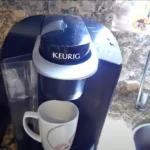
You can hardly find a household that doesn’t have a Keurig machine in the kitchen. As a result, if you are a brand-new satisfied user, it is now time for you to learn how to use a Keurig coffee maker so that you can start taking advantage of the advantages and enjoying your fresh, delectable beverages.
It’s easy. Just Set It Up, Do a Cleansing Brew, Choose Your Coffee, Place the K-Cup into the Machine, Place Your Mug Under the Dispenser, Select the Brew Size, and Brew Your Beverage
Let’s dive right in!
How to Use a Keurig Coffee Maker?
Here are the details:
Set It Up
Even if you don’t know yet how to use Keurig, you probably understand that some prior set-up is required. Here’s what you should do:
- Take the Keurig out of the box and unwrap the tape that is covering its components.
- Put your device close to an electrical outlet. You should choose a good location for your coffee maker because you will probably use it frequently. It needs to be easy to access and spacious enough to accommodate the machine.
- Enter the power outlet with the cord. You can now use your Keurig coffee maker!
Do a Cleansing Brew
Consider this step a test run that will help you prepare the machine for use and clean it on the inside for your first cup of coffee.
To do a cleansing brew before you use your Keurig, follow these steps:
- Fill the water reservoir(but make sure not to exceed the “Max” line). You can fill a different container with water (for greater convenience) and pour it into the built-in (non-removable) reservoir on your Keurig if it has one.
- Put a mug or other container underneath the dispenser to catch the hot water.
- Turn on the power.
- Wait for a couple of minutes for the machine to heat the water up. If your machine has a heating light, you will be able to tell when it is finished warming up once the light turns off. If your Keurig doesn’t have this feature, you can still wait until the heating sound stops.
- Select the largest size and press the corresponding button as soon as the brew size buttons light up.
- Hold off until the hot water dispenser stops.
- In the sink, pour the water. Your first cup of coffee is now ready for brewing!
Choose Your Coffee
The ability of Keurig machines to brew a wide variety of beverages, including various varieties of coffee, tea, cocoa, hot chocolate, and others, is one of their coolest features. For days when you need to limit your caffeine intake, decaf coffee pods are also available.
Now, those plastic pods include both ground coffee and a filter. For your beverages’ purest flavor, some models also use built-in water filters.
Choose the flavor you want to try first, but keep the foil lid on.
Place the K-Cup into the Machine
Lifting the handle is required to accomplish that. It will reveal a pod slot that holds the capsules. The shape resembles a cylinder. After placing your preferred coffee pod inside, press the lid back down.
A quick note: you should not remove the foil lid from the capsule before you insert it into your machine. Every Keurig has a unique needle that, when used for brewing, will pierce the foil. It may cause coffee to spill all over the K-cup holder if the foil lid is removed first.
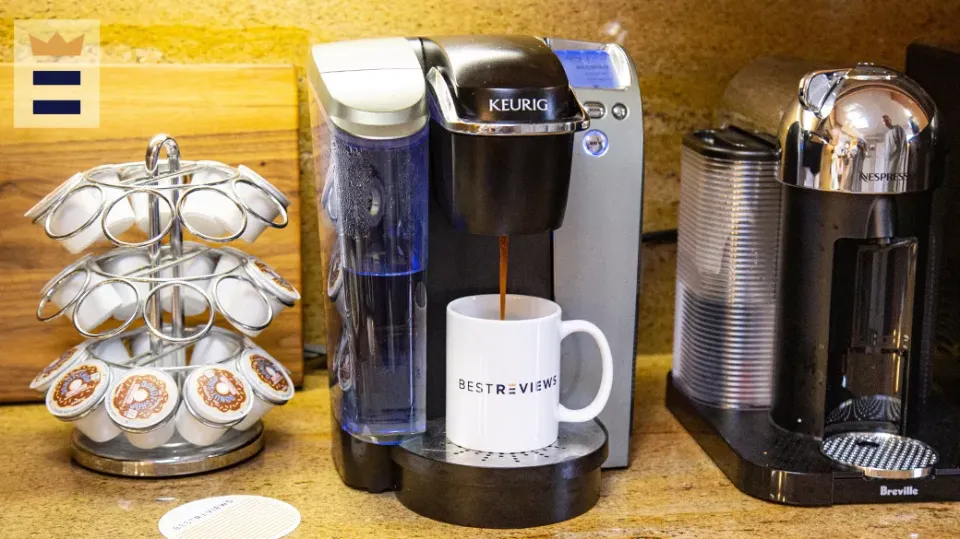
Place Your Mug under the Dispenser
The drip tray in your Keurig machine doubles as a tray for your mug and a container to catch all the coffee drops. It is located directly beneath the coffee dispenser. Put your mug on top of it.
You can either try using a different mug or, in some Keurig models, try removing the drip tray if your current mug is too tall and won’t fit.
Select the Brew Size
Normally, you have three choices: 6, 8, and 10 oz; however, some models can brew up to a full carafe. Choosing one would not be difficult, no matter how many options you have. Just press the corresponding button to complete the action.
A quick tip:
Pick the smallest size first because this is your first time using a Keurig.
In this manner, you will be aware of the cups to use moving forward. You don’t want to choose your favorite mug only to watch it overflow with coffee after selecting the largest brew size (and realizing that your mug isn’t big enough for it).
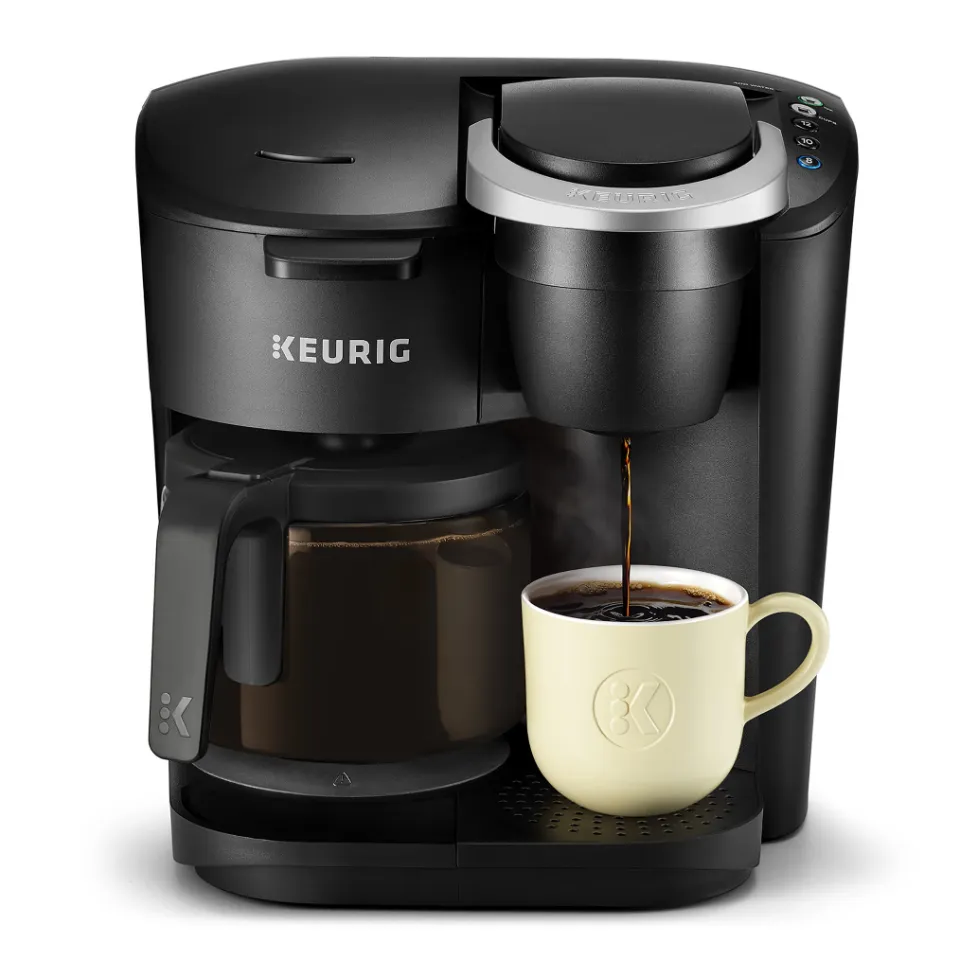
Brew Your Beverage
As soon as you press the brew size button, your machine will take some time to pump the water. This typically takes a few seconds. Following that, it will begin pouring hot, fresh coffee into your mug.
After consuming your beverage, open the machine’s lid, remove the used coffee pod, and discard it. The pod compartment can be left open to air dry for a while. You could also put in the following coffee pod and have another beverage.
Keurig Regular Maintenance
Coffee makers from Keurig are fussy gadgets. Many users complain their brewer failed to last more than a year or two, but generally this is due to poor regular maintenance — you gotta clean these things, people!
Ensure that you follow the maintenance schedule below to keep your brewer running smoothly for years.
Clean the Exterior, Drip Tray, Water Reservoir, Pod Assembly, Entry Needle, Exit Needle and Carafe
Frequency: Every 1-2 weeks
Each Keurig user manual has instructions detailing the best way to clean the components of that particular model. That’s the first place you should go when researching regular maintenance.
However, the following rules generally apply:
- Exterior: wipe down with a non-abrasive cloth or sponge
- Drip tray: rinse in the sink; not dishwasher safe
- Pod assembly: rinse in the sink; not dishwasher safe
- Water reservoir and lid: rinse in the sink and wash with soap and a non-abrasive cloth or sponge
- Entry and exit needle: rinse and wipe down with non-abrasive cloth or sponge; should they clog, use a paperclip to unclog (see image above)
- Carafes: wipe down with a non-abrasive cloth or sponge; for the thermal carafe, never submerge it fully under water
Note: Although some Keurig manuals claim that the pod assembly and other parts can be put in the dishwasher, I believe that hand washing is still preferable in this case.
For anything that comes in contact with coffee, such as the pod assembly, it’s best to wipe down occasionally with a mixture of equal parts water and white vinegar. The vinegar cleans away any of the rancid oils resulting from exposure to oxygen and water and ensures the best tasting cup of coffee possible.
Change the Charcoal Water Filter
Frequency: Every 2 months or 1,000 oz, whichever comes first
For context, 1,000 oz is 125-8 oz servings, or one cup per day for 4 months
Follow the steps outlined in step 4 of the above Initial Setup & Cleansing Brew instructions in order to replace the charcoal filter.
De-scale Your Machine
Frequency: Every 3-6 months or more frequently if you have hard water
Your water’s calcium content will eventually build up in your coffee maker. This build-up will be slowed down by using filtered, spring, or charcoal water filter that is compatible, but it will still take place.
Almost every Keurig model has some sort of de-scaling notification or indicator light to let you know when it’s time to carry out the de-scaling procedure below.
Honestly, I’d de-scale more frequently than is suggested — at least every 2-3 months. Everything will continue to function for a longer period of time and it doesn’t take very long.
These are the steps:
- Fill the water reservoir to the MAX FILL line with de-scaling solution or a mixture of half water, half white vinegar
- Run the brew cycle one time
- Let the brewer to sit for at least 30 minutes, allowing the internal components to be cleaned
- Run the brew cycle multiple times until the water reservoir is empty
- Fill the water reservoir with water
- Run the brew cycle multiple times until the water reservoir is empty (to rinse)
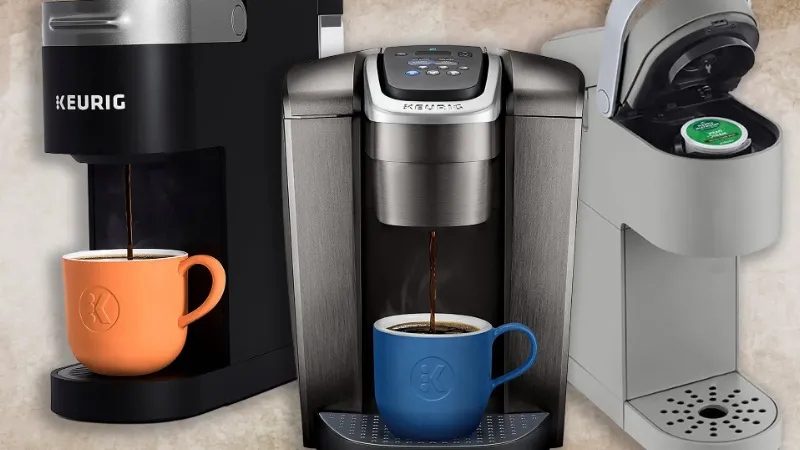
How Will I Know Which Keurig is Right for Me?
There’s a wide variety of Keurig models on the market. It really comes down to personal preference, to be honest.
There’s a few questions to ask yourself when looking into buying a Keurig that can help:
- Do I require one of the more intricate models, or will a straightforward one suffice?
- Does my kitchen have enough counter space for one of the larger models?
- How much am I willing to spend on one of these?
Naturally, it’s possible that none of the Keurig models will seem to fit you perfectly. If this is the case, you may want to consider…

Frequently Asked Questions Regarding Keurig and Other Coffee Makers
Are the K Cup Pods Recyclable?
While there are many reusable K cup filters, it is unfortunate that the pods made for Keurig machines cannot be recycled.
Can I Brew Iced Coffee With My Keurig?
Yes, a lot of the K cup pods available from Keurig are made with ice in mind, but in the end, you can brew anything into a cup of ice.
What Kind of Water Should I Use With My Keurig?
The Keurig is made to work with regular tap water, unlike some other coffee makers that don’t advise doing so. If you live somewhere where drinking water from the tap is not advised, then this is the best option for brewing.
However, using softened or mineral water is not advised. You can use filtered or distilled water instead.
How Do I Get Replacement Parts for My Keurig?
Simply browse all Keurig replacement parts on the accessories page of the Keurig official website. These include mesh filters, drip trays, water reservoirs, refillable water filter cartridge packs, water filter kits, and reusable coffee filters.
You can also buy accessories here (although the name of the page probably hinted at that), such as rolling storage drawers for your coffee pods, cork-sleeved glass mugs, travel mugs, tumblers, ceramic mugs, milk frothing machines, and carafes.
Final Thoughts: How to Use a Keurig
If you want to purchase a pod-style coffee maker, Keurig coffee makers are a great option. It should be brewing you high-quality coffee for years as long as you’re willing to properly care for it (and there isn’t much care needed).
The most important thing to remember when brewing coffee with your Keurig is to use a mug that’s the right size for your machine (too small will lead to spillage and coffee stains), run some vinegar solution through it every few months (avoid mineral deposits), and make it your life’s mission to try out every There are many different K-cup flavors to choose from.
If you have any questions, please leave a comment.
Thank you for reading.