
The smell of coffee from your Keurig may help you get out of bed every morning. But just as your Keurig takes care of you, you must also take care of it; otherwise, both the coffee it brews and the machine will eventually deteriorate.
Every three to six months, you should descale your Keurig and changethe water filter.
Here’s how.
How to Change Keurig Filter?
Remove the Old Filter
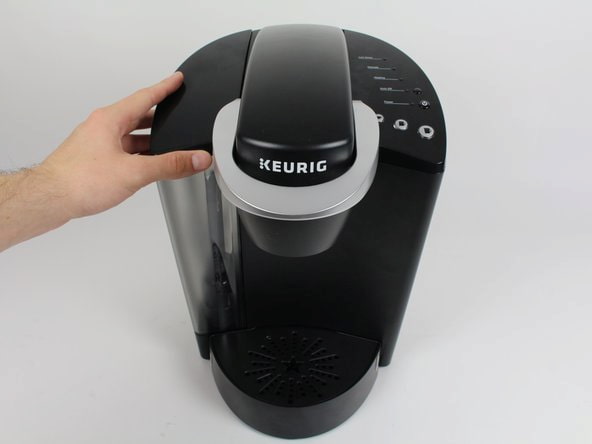
The Keurig water reservoir’s top should be removed. The water reservoir is usually found on the left side of Keurig models. You can access the water filter by fully removing the reservoir’s top.
Take the filter assembly apart. There will be a handle sticking up in the water reservoir from the upper filter holder. Firmly grasp the handle and remove it from the reservoir.
A used filter should be thrown away after opening the filter holder. The tabs at the bottom of the filter unit can be compressed in by pinching them with your thumb and index finger. Before removing the old filter, pull down to release the lower filter holder.
Install the New Filter
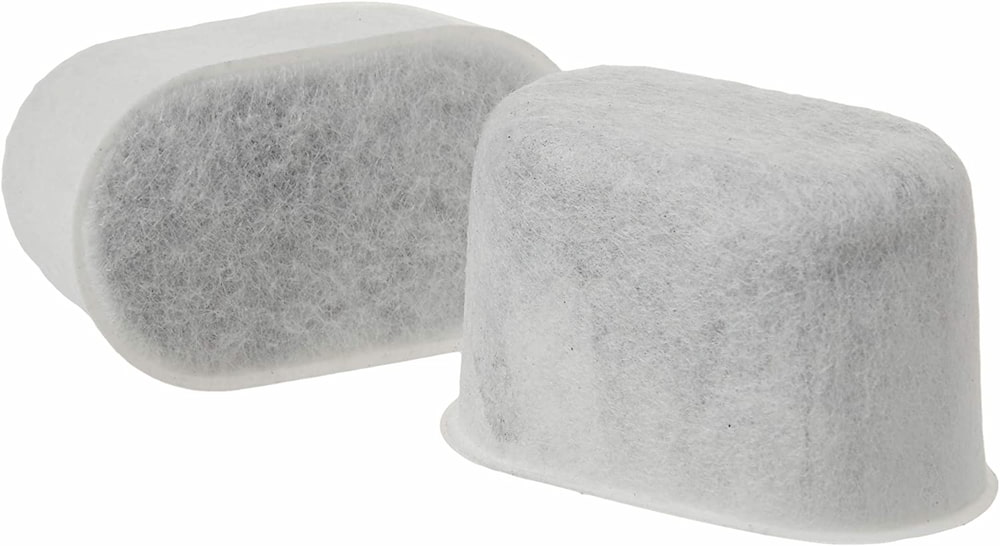
Buy a fresh set of Keurig filters. You must purchase a set of Keurig water filters because they are not sold separately. They are frequently sold in packs of six or twelve. The same shops that sell Keurig machines also sell Keurig filters. Check any establishment or department store that sells housewares, including Bed Bath and Beyond, Sears, Target, and bigger grocery stores.
Clean the bottom filter holder. The bottom side of the lower filter holder will have a fine mesh layer. To get rid of any dirt or impurities that may have accumulated during regular use, rinse this with tap water.
The filter in the filter-housing unit needs to be replaced. With its rounded top side facing up, slide the new filter into the filter holder. Below it, position the lower filter holder. The mesh bottom of the lower filter holder should completely enclose the fabric filter’s flat bottom. The filter holder’s two sides should be snapped into place around the filter.
Advance the replacement dial by two months. The filter replacement unit’s handle has a replacement dial on top of it. It will list the numbers 1 through 12 (each representing the corresponding month), and is roughly the size of your thumb. Turn the dial counterclockwise until the indicator points to the month that is two months ahead of the current month.
Set the Keurig to notify you when it needs a new filter. There is a setting on your Keurig that allows it to remind you to replace the water filter every two months. You can activate the reminder using the electronic menu if the replacement dial was correctly set to 2 months in advance. Navigate to “Settings,” and select “Reminder for Water Filter.” Select “Enable.”
Put the water filter unit inside the Keurig reservoir. Put the filter unit back together and into the water filter of the Keurig. When pressed down firmly into the reservoir’s bottom, the lower filter holder’s exterior side will snap into position.
Pros of Regularly Changing Water Filters
Any Keurig model’s water filter does experience significant wear and tear, especially if the tap water in your area is dirty or of poor quality. But why should you be aware of Keurig 2.0’s water filter replacement procedures?
The solution is presented in the form of two crucial bullet points.
Maintains a Consistent Taste Quality
Since water makes up about 95% of coffee, it has a significant influence on how each cup of coffee tastes.
Cleaning the water filters frequently and replacing the water filter cartridge after a few months are two ways to guarantee that you always get the best-tasting coffee.
Extends Equipment Life
Since the Keurig coffee maker models rely on filtered water to run efficiently, it can be assumed that the filtered water also maintains the acidity that runs through the “wet” parts of the coffee maker.
The equipment’s lifespan is therefore increased by having a water filter that is routinely cleaned and maintained because filtered water stops rust and other organic material from building up around the machine’s valves and tubes.
When to Replace a Keurig Charcoal Filter
Your Keurig’s purifying filter in the water reservoir is made to last a limited number of brew cycles, not for a set period of time. Your need to replace your Keurig should decrease as you use it less.
Every two months, according to Keurig, the filters should be changed. However, it advises you to change the filter every 60 tank refills if you don’t brew every day. Additionally, make it a habit to descale the Keurig after every other filter replacement.
So that you don’t have to rely on guesswork, some more recent Keurig models let you set a water filter reminder.
When a charcoal filter is used up, it no longer filters the water in the reservoir as effectively as it should. This may have an impact on both the coffee’s quality and how quickly debris will accumulate inside the machine.
The same charcoal filters are used by the majority of more recent Keurig models (aside from office-style, Rivo, and K200 models), and they are offered by the majority of significant Keurig retailers. Additionally, you can purchase them online for as little as 65 cents each (they cost approximately 90p in the UK or $4 in Australia).
How Often Should You Clean the Machine and Change a Keurig Water Filter?
It’s important to learn how to change the Keurig water filter cartridge, but it’s equally crucial to understand how often you should clean the entire Keurig coffee maker. The water filter cartridge should also be changed at this time.
After Every Use
Never brew coffee that has been left over from the previous day. With a bitter aftertaste, this coffee is no longer fit for consumption. After you’ve disposed of the coffee inside the carafe, hand wash the carafe for about 30 seconds with a mild detergent.
When cleaning the carafe, avoid using the dishwasher because it sometimes misses dirt and leftovers from the inside.
After thoroughly rinsing the interior after cleaning it with a soft sponge and a mild detergent, look for any remaining debris.
Your coffee would not taste stale and dirty if you kept your carafe clean. It would also be germ-free. You can enjoy a fresh brew each time because the flavor and aroma of the coffee from the day before are also eliminated.
After a Few Days
Check the K-cup holder for any lingering grounds every few days or so, and remove them with a soft sponge to stop them from blending with new ones.
Because the entry and exit points are blocked, these grounds can also lead to a buildup in the needle, which can cause issues to develop.
Use a paperclip to remove any debris from the entry and exit points, then rinse the needle to complete the cleaning.
After Two Weeks
Your Keurig 2.0 will last longer if you clean it frequently. Remove the tray and K-cup holder’s removable portion. Gently clean these components by rinsing them off after using a soft sponge and a mild detergent.
After allowing them to air dry or wiping them down with a soft cloth, wash the reservoir.
Remove the water filter cartridge from the water reservoir and the other stationary parts, then clean all the surfaces with a cloth dipped in soapy water before rinsing.
Allow it to dry naturally without wiping it because doing so could leave lint behind that could contaminate your subsequent batch of coffee. Lint in coffee is never a good thing!
Finish by using a wet sponge to clean the exterior of everything and a soft cloth to dry it.
After Two Months
Any Keurig model requires a new water filter cartridge every two months. This is done to make sure the filters are still functional and capable of removing the typical sediments and other minerals found in water.
After Two to Four Months
No matter if it’s from the tap or not, minerals do accumulate on machinery that uses water, and the process is very similar to how caves are created.
These minerals remain inside the device and may amass over time. The minerals can alter the flavor of the coffee and cause rust, which will harm your machine.
Descaling, which removes these minerals, is not as difficult as it sounds. Pour 10 ounces of white vinegar or Keurig’s proprietary descaling solution into the water reservoir of your Keurig machine to descale it.
Without a coffee pod inserted, turn the machine on and begin the brewing process.
Place a mug underneath the needle to catch any liquid that comes out, and then throw away every last drop. Repeat this procedure once more, this time using fresh water, once the reservoir’s liquid is empty.
If the vinegar smell from the water that emerged the second time is still detectable, you may want to try the process again. Refill the tank after using a soft cloth to clean everything.
Is the Keurig Water Filter Necessary?
People genuinely believe they could avoid using a water filter, which is why this question is frequently asked. But that’s not the case. The Keurig K200 and all other coffee makers from the brand have water filters for a reason.
With the aid of a charcoal filter, you can purify your water of calcium, chloride, and other impurities. If you don’t have one, these minerals may accumulate in your unit more quickly. Both your coffee’s flavor and the way your brewing system functions may be impacted by this.
Your machine will need to be descaled more frequently than every three to six months if you do not use a filter. Using the water filters and changing them would be a better alternative because descaling can be a time-consuming task.
A filter may not be necessary if you are using filtered water in your machine. It is essential to have one, though, if you are using water straight from the tap. A filter will also be required to keep your coffee maker in good working order if you are aware that your tap water is hard and contains a lot of minerals. Mineral buildup is simple to achieve with hard water. You can always buy a cheap water testing kit if you’re unsure of the amount of minerals in your water.
Do Keurigs Have Built-In Water Filters?
The majority of Keurig coffee machines come with a water filter. However, the K-Mini line, the K15, the Rivo, and any other small office brewer do not. Three categories of water filters are used to categorize the remaining models: traditional, tall handle, and short handle.
The machine’s side or back water reservoir is where the water filter is located. The water reservoir top of your coffee maker can be completely removed to access the water filter.
Do Keurig Filters Need to Be Replaced?
Only a certain number of brew cycles, not a certain period of time, can be used the purifying filter in your Keurig’s water reservoir. Your Keurig will need to be replaced less frequently the less you use it.
A new water filter should be installed in your Keurig machine every two months, according to the official website. Replace your water filter for best results, which will help reduce chlorine in your water, every 60 tank refills to keep your water fresh and delicious-tasting.
The reservoir’s water will no longer be cleaned as thoroughly as it should be once the charcoal filter is depleted. This will impact both the quality of the coffee and how quickly particulates accumulate inside the maker.
The best way to keep your coffee tasting as good as it did on day one is to change the filter as often as necessary because it helps remove contaminants. The likelihood of destroying delicious beverages will be decreased if you replace the water.
Additionally, your Keurig may occasionally flash an error message to let you know the filter needs to be replaced. You can set a water filter reminder on some more recent Keurig models, which eliminates the need to rely on memory for filter replacement dates.
What Kind of Water Filter Does My Keurig Use?
If you require a new water filter holder, be sure to buy the appropriate model for your machine. Three different types of holders are available: the K-Classic, tall handle, and short handle.
K-Classic water filters are utilized by Keurigs with serial numbers beginning with 44, 45, and 48. The K-Supreme, K-Supreme Plus, K-Duo Plus, and K-Cafe, which have serial numbers that begin with 55, use the tall handle water filters. In contrast, the K-Duo, K-Duo Essentials, and K-Latte use water filters with short handles.
And if you’re still unsure which water filter holder to buy, just use Google to quickly search the internet for the model that will work with your machine.
What Happens If the Water Filter is Not Replaced?
Your machine will still brew coffee even if the water filter is not changed. The absence of one, however, can eventually lead to mineral buildup in your computer. You will therefore need to descale your system more frequently than those who do not.
Descaling a Keurig can be time-consuming, and if it isn’t done frequently, the remaining minerals in the brewer may eventually cause the device to malfunction. This could lead to leaks and other issues with water pumping, brewing speed, and the volume of coffee produced.
Final Words
Using a clean coffee maker not only makes the coffee taste better, but it also makes sure that nothing harmful gets into your favorite cup.
It’s crucial to understand how to clean each component of your brewer and how to replace the Keurig water filter.
Maintaining your Keurig will ensure a consistent flavor, as well as extending its lifespan, just like any frequently used machine. Extra water filters should be kept on hand to ensure that your machine consistently brews the ideal cup of coffee.
To avoid any potential injuries, make sure the machine is unplugged before doing anything.
A BIG THANK YOU FOR READING.
Read about How Long Do Keurigs Last?